
Picking up from that hack job
that was my intro, we’ll be jumping into the first talking point of the series:
Exposure management. This little bit pretty much covers the basis of
photography in general: the act of capturing light onto film. Unlike using
traditional film, digital photography involves sensors, which simplifies our
post-processing work, reducing the need for as many skills before we can
achieve usable results from our amateur attempts. Breaking down the exposure,
there are a list of items that we could consider separately: shutter speed,
ISO, aperture.
Shutter Speed:
With shutter speed, the longer
the exposure, the more light you’re allowing to flow into the sensor. As such, the longer you allow
light to flow onto the sensor, the brighter that exposure becomes (and the same
in reverse, the shorter the exposure, the darker your image). This also determines how long of a “moment” you
are attempting to capture into a single image. As you can imagine, the more you
time in a single image of something moving, the blurrier that image will
become.
 |
| Unsteady hands... Image used without permission |
Since our toys are inanimate
and will (or should, ‘cause if your toys are moving, then this would be some
whole new kind of awesome…) not be moving, there should not be any blurring.
When we do eventually get that blurry exposure, it usually boils down to our
hands shaking while you are capturing this image. While this trait is
ultimately unavoidable (you may feel your hands to be steady, but our every
heartbeat causes micro-tremors that becomes captured on the camera’s sensor),
there are various remedies to combat this effect. Most of the time, the simple
solution would be to stabilize the camera using a tripod and thus allowing the
removal of biology in the equation, though this can add another layer costs to
your rig*. The other solution would be to reduce your shutter speed to capture a
shorter moment/reducing the effect of your shaky hands, or to boost your ISO to
make the sensor process the exposure at a higher sensitivity level.
*There are also mono-pods, or straight up stacking boxes/books/etc and so on, but lets not get too far into that for now…
*There are also mono-pods, or straight up stacking boxes/books/etc and so on, but lets not get too far into that for now…
 |
| Budget Tripod... Image used without permission |
ISO
When
you’ve reached that limit where your shutter speed is causing the image to blur
due to the shakes, there is also the ISO
setting(light sensitivity). With traditional film cameras, you were limited to
whatever ISO film you had loaded at the time. This trait is fortunately
eliminated with the digital systems we have now, thus allowing us yet another
option whenever we desire it. The higher the ISO setting, the higher the
sensitivity of light: allowing either a shorter exposure or a brighter image at
the same speed.
Unfortunately, this solution is
also not without drawbacks. Increasing ISO settings will also introduce noise
into our images (this is usually observed in the form of graining). While
upping it a few levels will not dramatically affect the exposure, going beyond
what your sensor’s sweet spot WILL result in extra noise, so use this function
in moderation.
Example:
To
show you roughly what I mean, I've got 2 photograph of the same area,
using the same aperture setting(I had the camera set to aperture
priority), where the only difference is shutter speed/ISO. Keep in mind
I've adjusted the first shot(darkened it), to emphasize the difference
in noise at a similar brightness level. In reality, the first shot is 2
stops brighter, (Shown inside the red box is the image at it's normal
brightness level) though that is more of a result of the shutter speed being about 23 times longer...
 |
| f/2 0.7 Exposure at ISO1000: not much noise(image is
still fairly smooth), but longer exposure due to a lack of light,
causing a very blurry exposure. Or BOOO HISSS No moar TRON!!! |
 |
| f/2 1/30 Exposure at ISO3200: photo is a good deal sharper due to a much faster shutter, but notice the artifacts(noise) in the shot. Or BOOO HISSS NOISE BAD!!! |
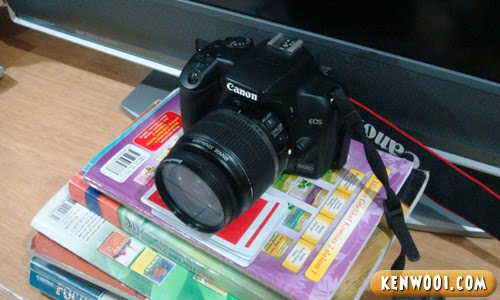
Aperture:
With the aperture settings, you are controlling the physical size of the hole your let light through to your sensor. This little bit tends to throw beginners for a bit of a loop, as the aperture number actually counts backwards to the aperture size... With f/1 being absolutely huge (imagine a large blast template), whereas f/22 being a rather tiny (imagine a bolter round having a template). Naturally, this will affect how much light your sensor is exposed to, again affecting how bright or dark your pictures turn out. There is in fact a further affect that aperture has on your images, but without stepping on the toes of my next entry, I will stop here for now.
Next time: Focus control!! Or how to get the most out of your warcas... I mean lenses!!
No comments:
Post a Comment