
Tuesday Tutorials
| Word to the wise: Don't google-image search the word WET with safe search off.... Or do. |
HIYO!
SO, today I've decided to do you all a solid and teach you how to make a Wet Palette for dirt cheap. Like I'm talking "Oh my god, I already have all of this stuff!!" cheap. It's something I learned from a wonderful chap named Mathieu Fontaine. You may recognize that name as coming from a guy who's won dozens upon dozens of awards for his painting... Golden Daemons, Euro Opens, the works. Great Guy, super nice, and an excellent teacher, especially if you want to learn to blend better.
ANYWAYS, this really is an incredibly simple process and it'll only take up a couple minutes of your time...
Wait...
What's that?
You don't know what a Wet Palette is?
FOR SHAME!!!
| Spock is unimpressed. |
Well Luckily for you, Ol' Bean is here to rescue you from your life of painting misery and regret. A
Wikipedia describes a wet palette as:
A wet palette is a sealable container with a layer of absorbent material (such as tissue paper) that can be soaked with water and a semi-permeable membrane (such as greaseproof paper or baking paper (silicone paper)) over that. The paint sits on the membrane and is kept wet by osmosis. Wet palettes can be bought, but are easily made.
I like that last bit. Easily Made.
Cause I'm CHEAP. (Read: Broke)
Wet palettes, essentially, keep your paints wet longer so you don't waste as much, which saves you money in the long run AND makes blending easier by keeping your paint at the same consistency longer. No more dried up paint on your palette to deal with.
So how do you make your own piece of this marvelous life changing technology known as a wet palette??
Simple.
 |
| The items |
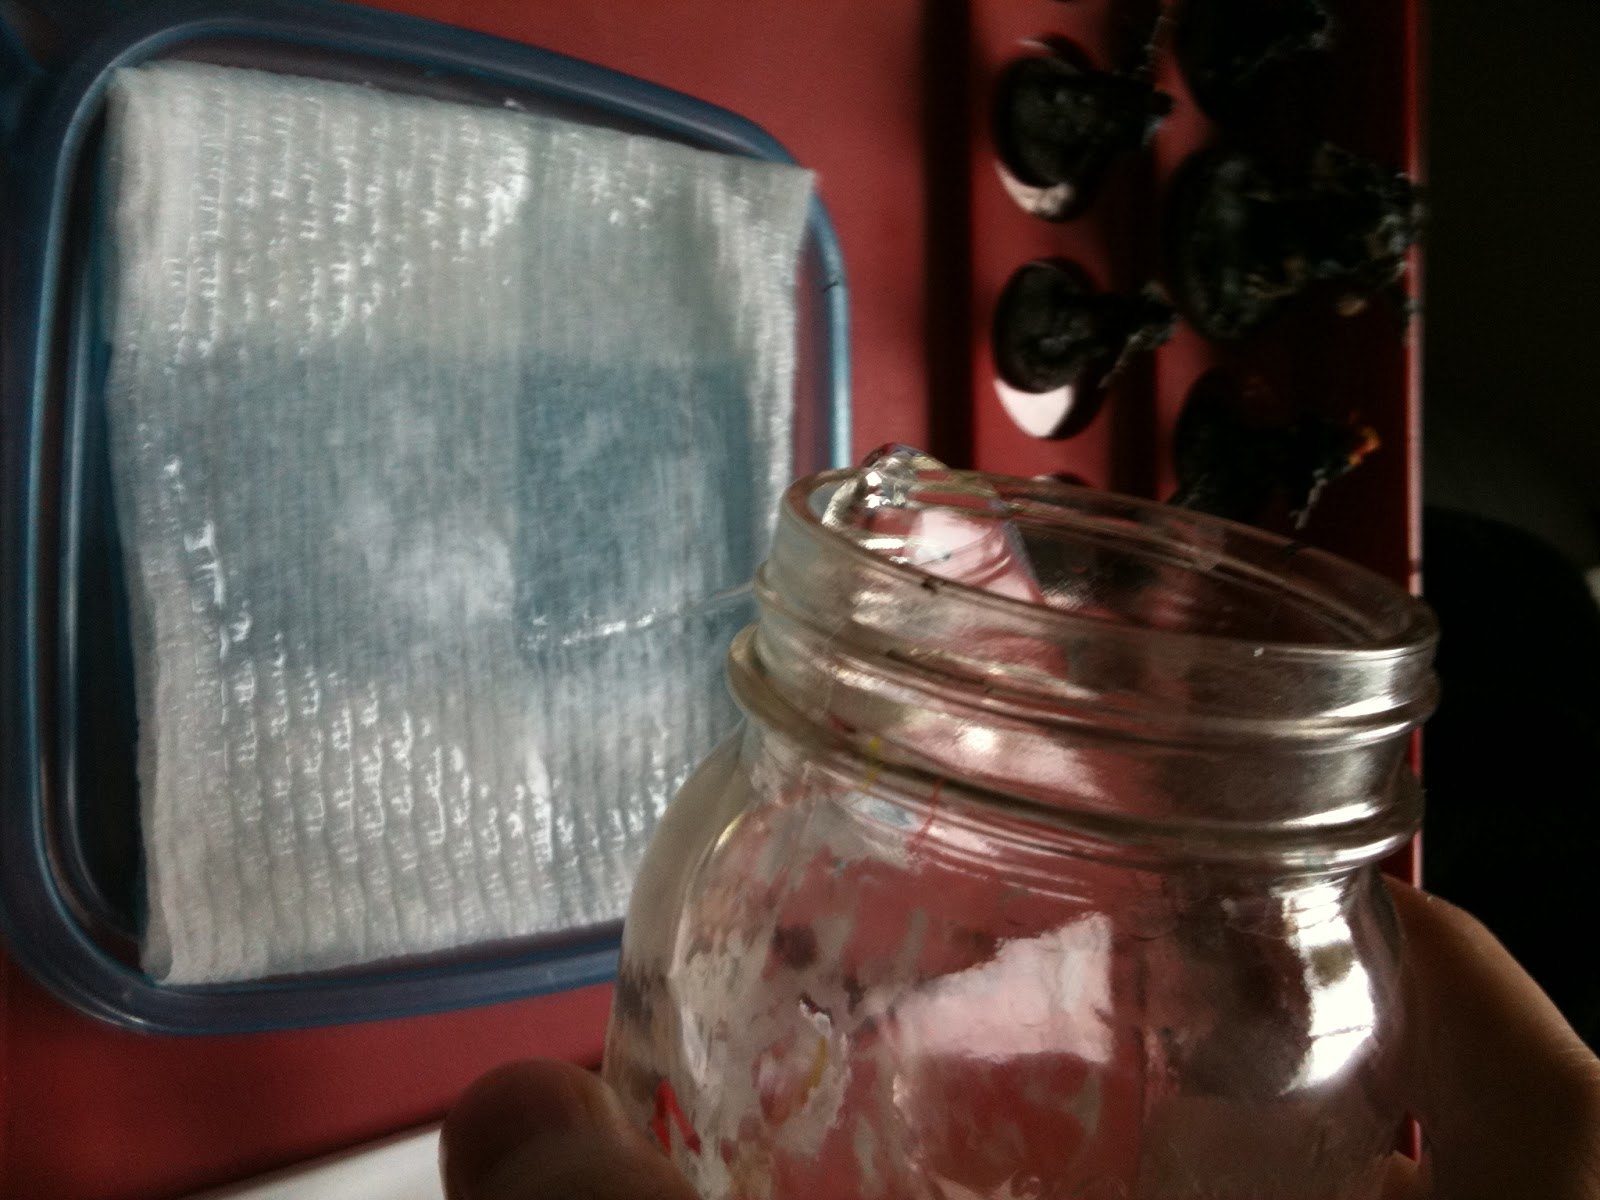
A shallow piece of tupperware (I use the lid to said tupperware)
A piece of Paper towel, folded to fit inside your tupperware/lid (many people use Sponge.. but i prefer paper towel)
A smaller piece of Parchment paper (NOT WAX PAPER), cut to fit inside the tupperware/lid with about a 1/4 inch of space left on each side.
And wetness (water... heh. I totally left the page from the "Wet" image search open... oops.)
| The Wetness!!!! It BUUURRRNNSSS USSSSS!!! |
Step 1:
Fold Paper towel so it will fit into your tupperware.
 |
| The most ghetto Origami you shall ever see |
Step 2:
Soak Paper towel with water. No half measures here. Do not just dampen the towel, soak the thing. if you tilt the tupperware, water should pool up in the sides (and in the case of using the lid, pour over the sides...)
 |
| Ooooh yeah.. you like that don't you.... yeaaaaaahhh... |
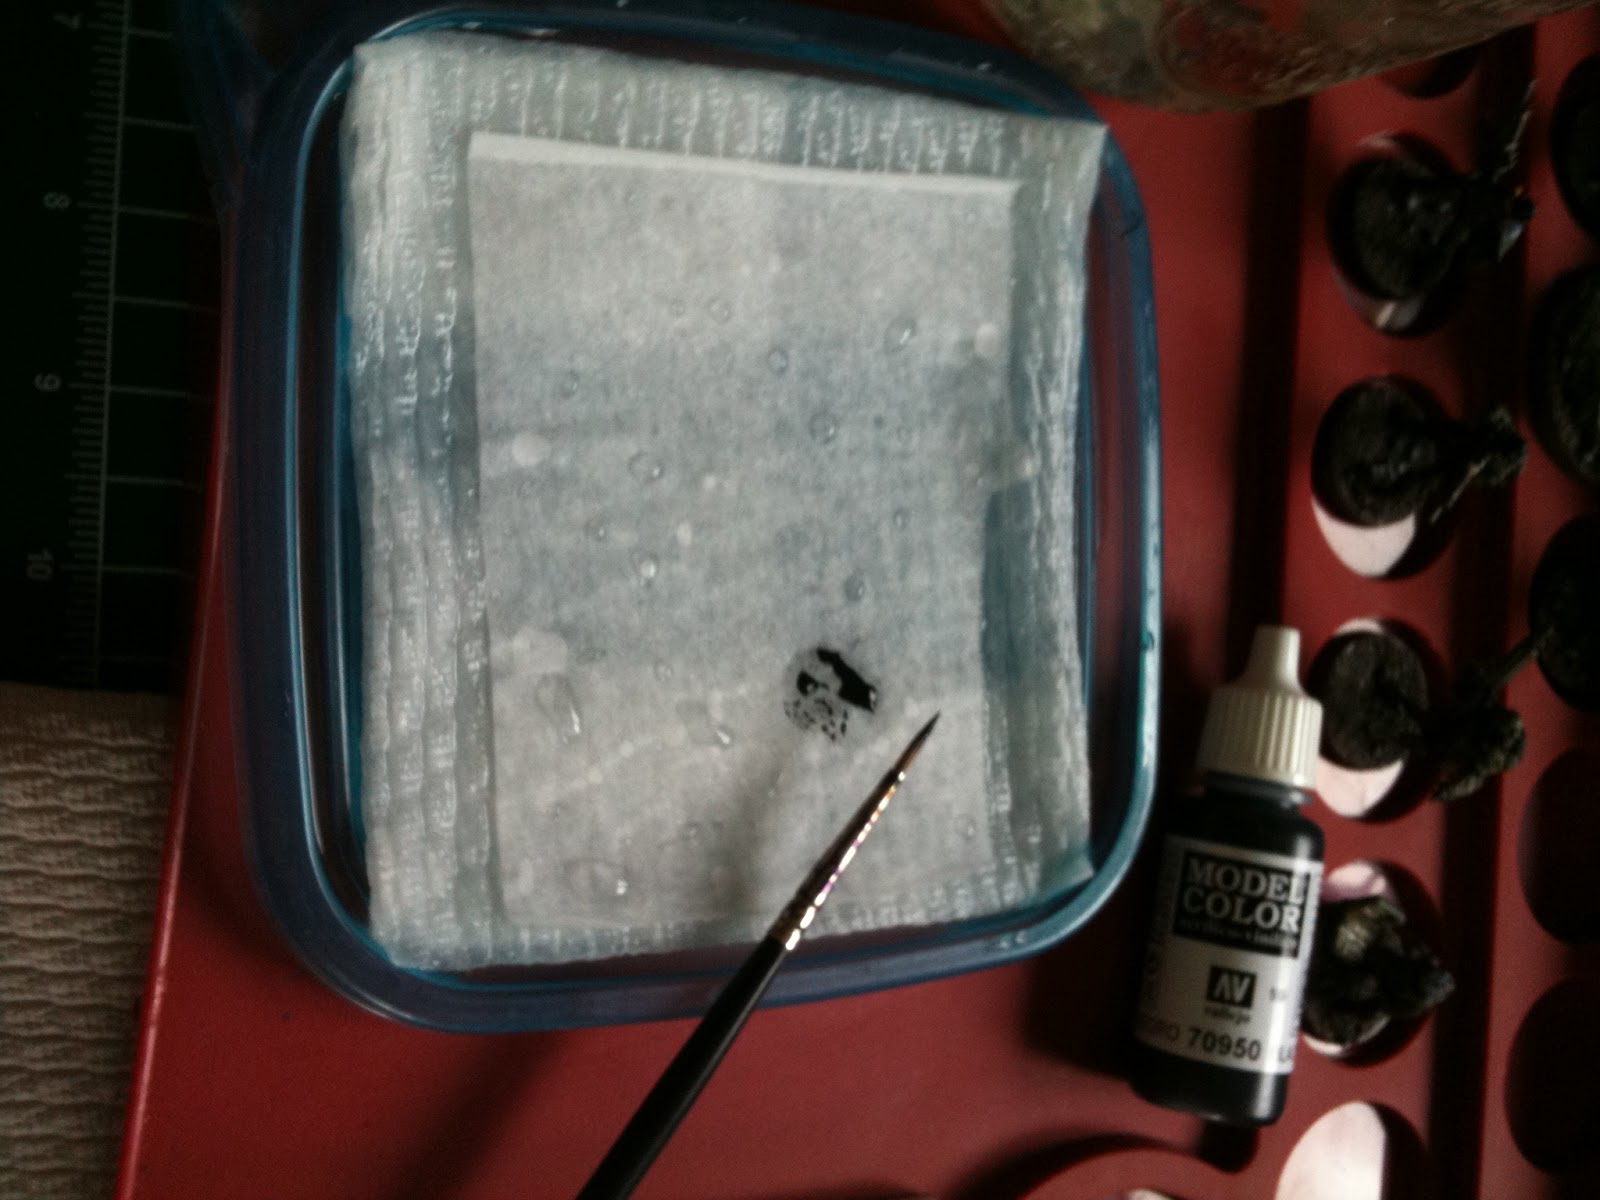
Step 3:
Place parchment paper so that it lays flat on the wettened paper towel and STAYS FLAT.
If the edges curl up, your piece is either too big and extends beyond the paper towel, or it's hitting a an incline/decline. Just cut it to size, flip the paper over and pat it down till it stays down.
 |
| Sweet sweet moistures! |
ALL DONE!
 |
| all done! |
Bean out~
No comments:
Post a Comment