
Tutorials Tuesday
I've been asked by a friend to show off how I go about basing my models. There are naturally a few ways of doing this, but I'll outline my favorite (which is also the easiest) below.
What you'll need:
However many bases you intend to prepare.
Tape
White Glue. Elmers or whatever grade regular school glue you want. (I use GW because I have lots of it left over from my GW days, and it seems to break down really well in water.)
Sand, ballast or whatever you want to use to texture your bases (I use a few different grades of ballast: Fine, regular and large. This provides nice variation in size and texture but also guarantees total coverage)
Water
An old Paint brush
various random bitz from the bits box (below I've used some sprue chopped up into bricks, some skulls and some army painter razor wire)
Step 1: Cover the gaps in your bases with tape and make sure to clip the edges so there is no hangover. If the tape is allowed to hang over the edges it can catch or be pulled and you're entire base will come up.
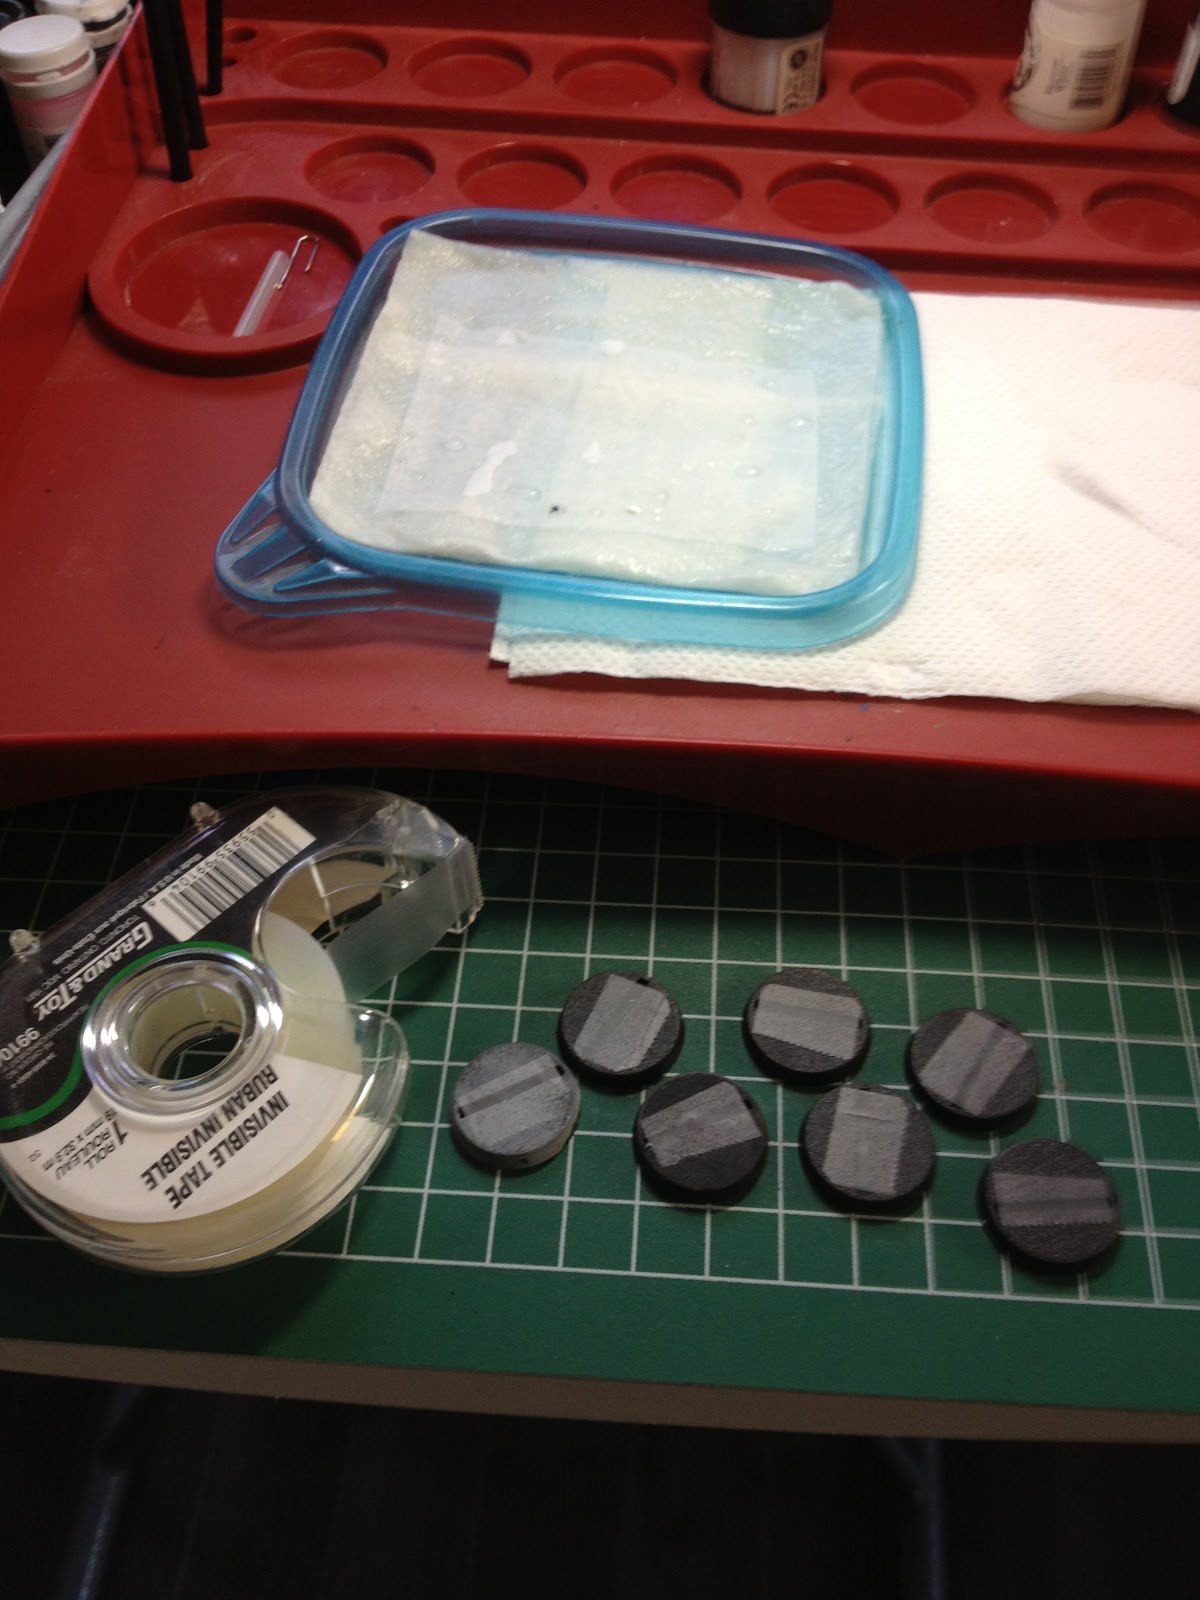

Step 2: Cover the base with white glue. Add any random bitz you've decided to add and dip the model into your texture mix.

Step 3: when the glue is dry, mix 3 parts water to 1 part white glue (3 glue:1 water) and paint this over your base. This will create a very strong and durable surface for your base which will ensure texture and larger pieces do not chip off with use. In addition, if you decide you do not like the base later down the road you can peel the entire surface off as one piece and give it another go!


Step 4 & 5: Prime your bases and give them a lick of paint and you're all done!
My bases were primed with Krylon Fusion Camouflage ultra-matte Tan. Once dry they were painted VMC Chocolate Brown, then a dry brush of VMC Tan Earth and lastly a light dry brush of GW Dhene Stone. The rocks were picked out with Charadon Granite and drybrushed with Astronomicon Grey. The bricks were painted with a 1:1 mix of Mechrite Red/Blazing Orange. Skulls recieved the Bone trio from Reaper Paints (Aged Bone, Polished Bone, Skull White). The Razor Wire received VMC Gun metal and a drybrush of Blazing Orange. Lastly I used some Valejo Powders (Light Sienna in the center of the bases, Burnt Sienna on the Razor Wire, and Carbon Black around the rocks and skulls). All said and told, it took less than 15 mins to paint and finish the bases.
 |
| Job complete! |
Personally I prefer to paint the rims of my bases black to give them a more professional finished look, OR give them a single band of a dark colour such as a dark brown or green so they'll blend somewhat with the terrain scheme I'm basing them for.
I hope that helps (Mr. Webber!) and you find this tutorial useful.
Until next time,
Don't eat the glue (it's delicious going in, but hurts coming out...)
Bean out~
No comments:
Post a Comment